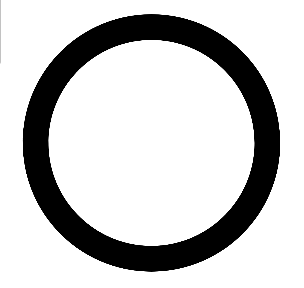
: 기본적으로 Surface() 안에 Image 버튼을 다음처럼 넣어 줍니다.
Surface(modifier = Modifier
    .fillMaxSize()
) {
    Image(painter = painterResource(R.drawable.center),
        contentDescription = null
    )
}
▶ Modifier 안의 메서드 중 .pointerInteropFilter 를 다음처럼 넣어 줍니다.
>> MotionEvent.ACTION_DOWN , ACTION_UP를 추가 하고 Log.d() 를 넣었는데 적당한 액션을 넣어줍니다.
Surface(modifier = Modifier
    .fillMaxSize()
) {
    Image(painter = painterResource(R.drawable.center),
        contentDescription = null,
        modifier = Modifier
            .pointerInteropFilter {
                when (it.action) {
                    MotionEvent.ACTION_DOWN -> {
                        Log.d(TAG, "Pressed")
                    }
                    MotionEvent.ACTION_UP -> {
                        Log.d(TAG, "Released")
                    }
                    else -> false
                }
                true

            }
    )
}
▶ 이미지 클릭시 Logcat
D/test_app::MainActivity: Pressed
D/test_app::MainActivity: Released
D/test_app::MainActivity: Pressed
D/test_app::MainActivity: Released
D/test_app::MainActivity: Pressed
D/test_app::MainActivity: Released
참고용 자료입니다.
오늘도 수고하세요.
반응형
'Android_app' 카테고리의 다른 글
| [Android Studio] 프로젝트 소스 레벨 복사하기 (0) | 2024.04.22 |
|---|---|
| [JETPACK COMPOSE] AlertDialog 안에서 AlertDialog 호출하기 (0) | 2023.09.12 |
| [Jetpack Compose] Drag / Swipe /Tap 기능 넣기 (0) | 2023.07.26 |
| [Jetpack Compose] AlertDialog 사용하기 (0) | 2023.07.12 |
| [Android_App] Runtime error "cannot be cast to java.lang.Byte " (0) | 2023.06.21 |
